Practical tips for better podcast recording
Here are a few practical tips to help you get better results when recording your podcast.
Use a good microphone
I guess this is the number one rule in podcasting. It only makes a lot of sense. Most default microphones that come built into your laptop, computer, or other device are not podcast quality. They are just good enough for communicating on a video call or such. But if you're going to be recording a podcast, then you better get a nice microphone to capture good quality audio. A semi-pro USB microphone that plugs directly into your computer can be affordable, and will capture your voice with much better quality. If you're serious about podcasting, it would be a good idea to invest in one of those mics. Here are some suggestions:
Audio-Technica AT2005USB - A great dynamic mic choice for beginners, can be very affordable.
Rode Podcaster - I've been using this one for a while, and it doesn't disappoint. Great beginner's mic choice.
Shure MV7 - This one is a semi-pro mic with both USB and XLR. Price is a bit higher, so if you're just getting started, maybe keep this one in mind for later.

Use a pop filter
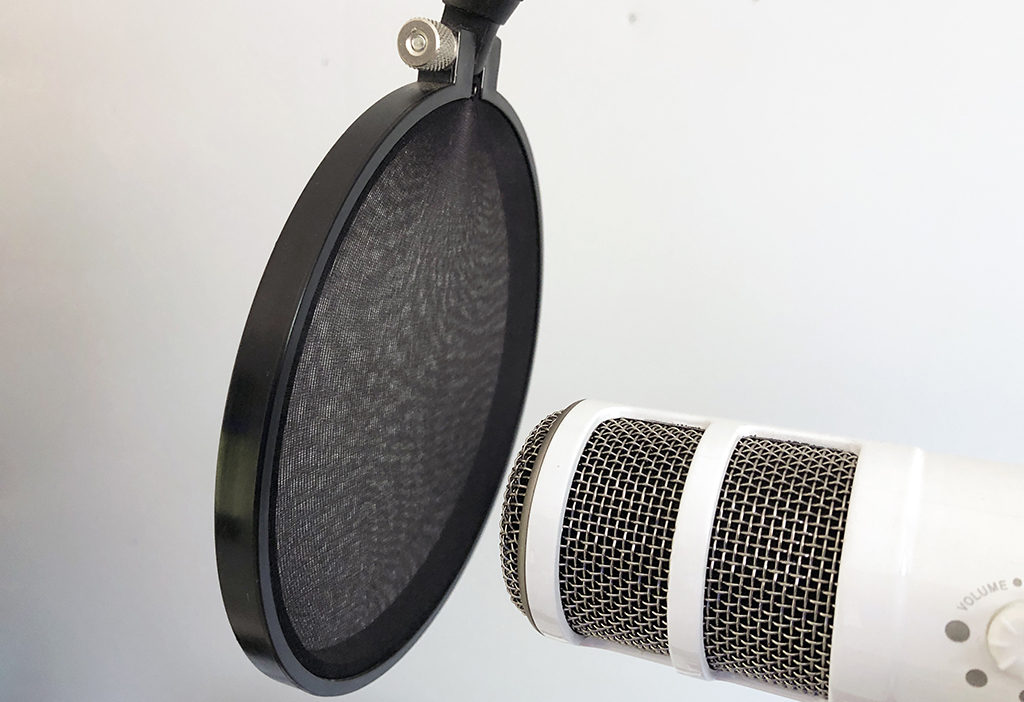
A pop filter is a screen you place in front of your microphone. You might have seen this before when an artist or voice-over actor is recording in a studio. The pop filter helps to eliminate plosives. What is that you might ask? Plosives are those hard sounds we all make when we pronounce words with the "p" sound, for example "possible" or "explosive", or "please pass the potatoes." You get the idea. They can be very annoying to your listeners. The pop filter helps to soften those sounds.

Reduce echo
The physical space where you record matters. If you're not recording in a professional studio or similar kind of space, you need to watch out for echo. A room that has very little furniture or not much on the walls will produce more echo. So the opposite of that would be much better. A rug on the floor can be helpful. Things like frames, drapery, or curtains can help a lot to reduce echo.
And there's also acoustic foam panels you could get to place behind you and around your desk to absorb sound. Some people have even recorded in their closet, because it's a small space full of clothes that absorb sound, so there's little echo produced. Probably not ideal, but that can be an option.
Restart your computer
This may sound silly, but in my experience, a lot of issues with mics and cameras are resolved by simply restarting the computer. So, I'd suggest to restart your computer before you record, so that you can "start fresh" with all your devices working properly.
Reduce noise from the environment
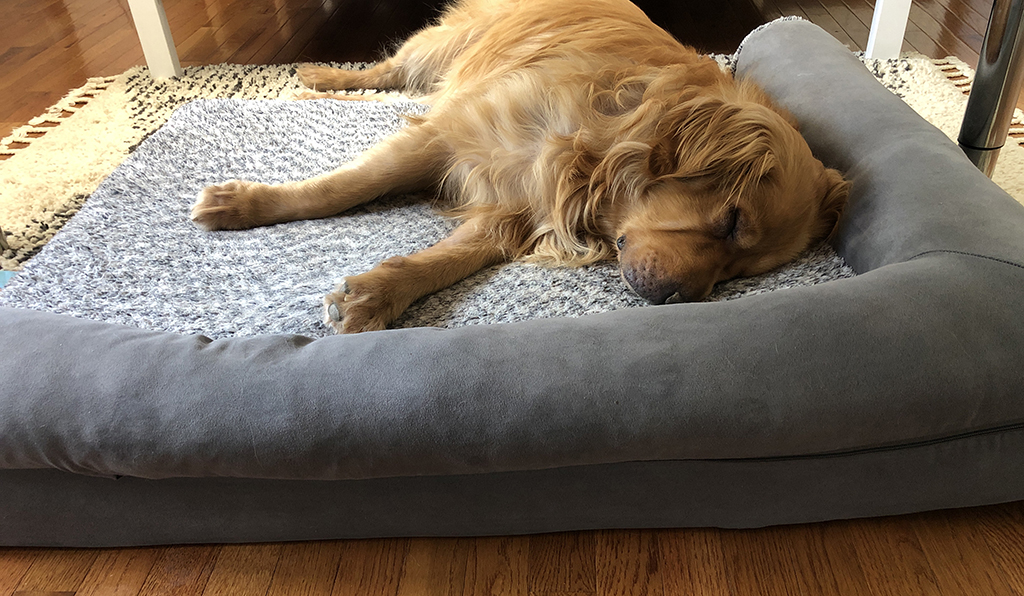
Things like an AC unit running in the background, a nearby fan, an open window that allows noise from outside, or your golden retriever passed out snoring by your feet... wait, that probably only happens to me. Those things can really lessen the quality of your recording. Some of those can be fixed or addressed during post production when editing, but that's more time consuming, a pain to deal with, and sometimes not even possible to fix. The cleaner your recordings are in the first place, the better.

Use headphones
If you're recording with other people, like guests or co-hosts, using headphones is required. You don't want to capture the sound of others on the same audio track as yours. That would translate into an editing nightmare. Also headphones eliminate feedback because the sound from the other people is not hitting your own mic, it's only hitting your ears. They can also help you monitor your own voice. So, use headphones, or at least earbuds.
Use appropriate recording software
If you're recording solo, you can get by with using software that's likely already on your computer, like GarageBand or QuickTime Player (lets you record audio) on your Mac, or free software like Audacity on Windows.
To record with remote guests or co-hosts, you can use tools like Zoom or Skype, but they don't really produce high-quality audio. Zoom offers some kind of local recording, but your guest needs to know how to do it on their end, and you must collect the recordings from your guest after the recording session is over. All of this can be clunky and complicated. The main purpose of these tools is communication, not recording.
So, if you want to capture high-quality audio (and video) with your remote participants, and make it easy for everyone to record, you need a tool like Fusioncast.fm, which is specifically designed for podcasters to capture high-quality audio and video from all participants.
Check which devices you're using
Before you start recording, always make sure the devices you're using to record are the ones you intended to use. For example if you have a good external microphone (as recommended above), make sure the application you're using to record is actually using that one, and not your default built-in microphone.
Do not disturb
Put your computer on "do not disturb" mode to eliminate any distracting sounds or notifications while you're recording. Silencing your phone is probably a good idea too.
Avoid making extra noise
Watch out for extra noise made during a recording session, like placing your hands on your desk, typing, or moving your mouse around while you're talking. These can be hard or even impossible to edit out when they are on the same audio track as your voice.
Have any other tips? Let me know.
Happy recording!